 |
| Home |
| II - Getting the Parts |
| III - Assembling it All |
| IV - Controller Programming |
| V - Test Rides |
| Cost Spreadsheet |
|
|
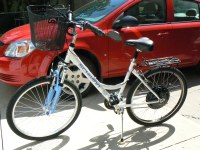
The decision was made. I would mount my hub motor into the new Schwinn Link bike. But first things first. I removed the rear wheel from the Schwinn, and then removed the tire and re-mounted it into the motorized rim. It wasn't easy to get the beads over the edges of the double-wall rim, but I finally managed. I used a "slime" tube so I wouldn't have to worry too much about punctures. The manual from Cycle 9 was so complete it even had instructions for mounting a tire. With the tire in place, I slid the wheel into the frame dropouts. It turned out the tire was off center, but not a great deal.  The frame would need a tiny bit of tweaking, but since it was steel rather than tempered aluminum, I didn't mind using a little force to bend it just a bit to get better alignment.
Using an improvised clamping device held firm to my driveway by the weight of my Pontiac Grand Am, and a small hydraulic jack, I was able to bend the right rear triangle outward to widen my dropout width to 150 mm. Then, turning things over and reclamping, I used the jack again to push the left triangle inward enough to bring my dropout width back to 135 mm. Now, when I installed the hub motor wheel into the frame, the rim was only about 5 mm closer to the left side than the right side... close enough so I could adjust my brakes to work properly.
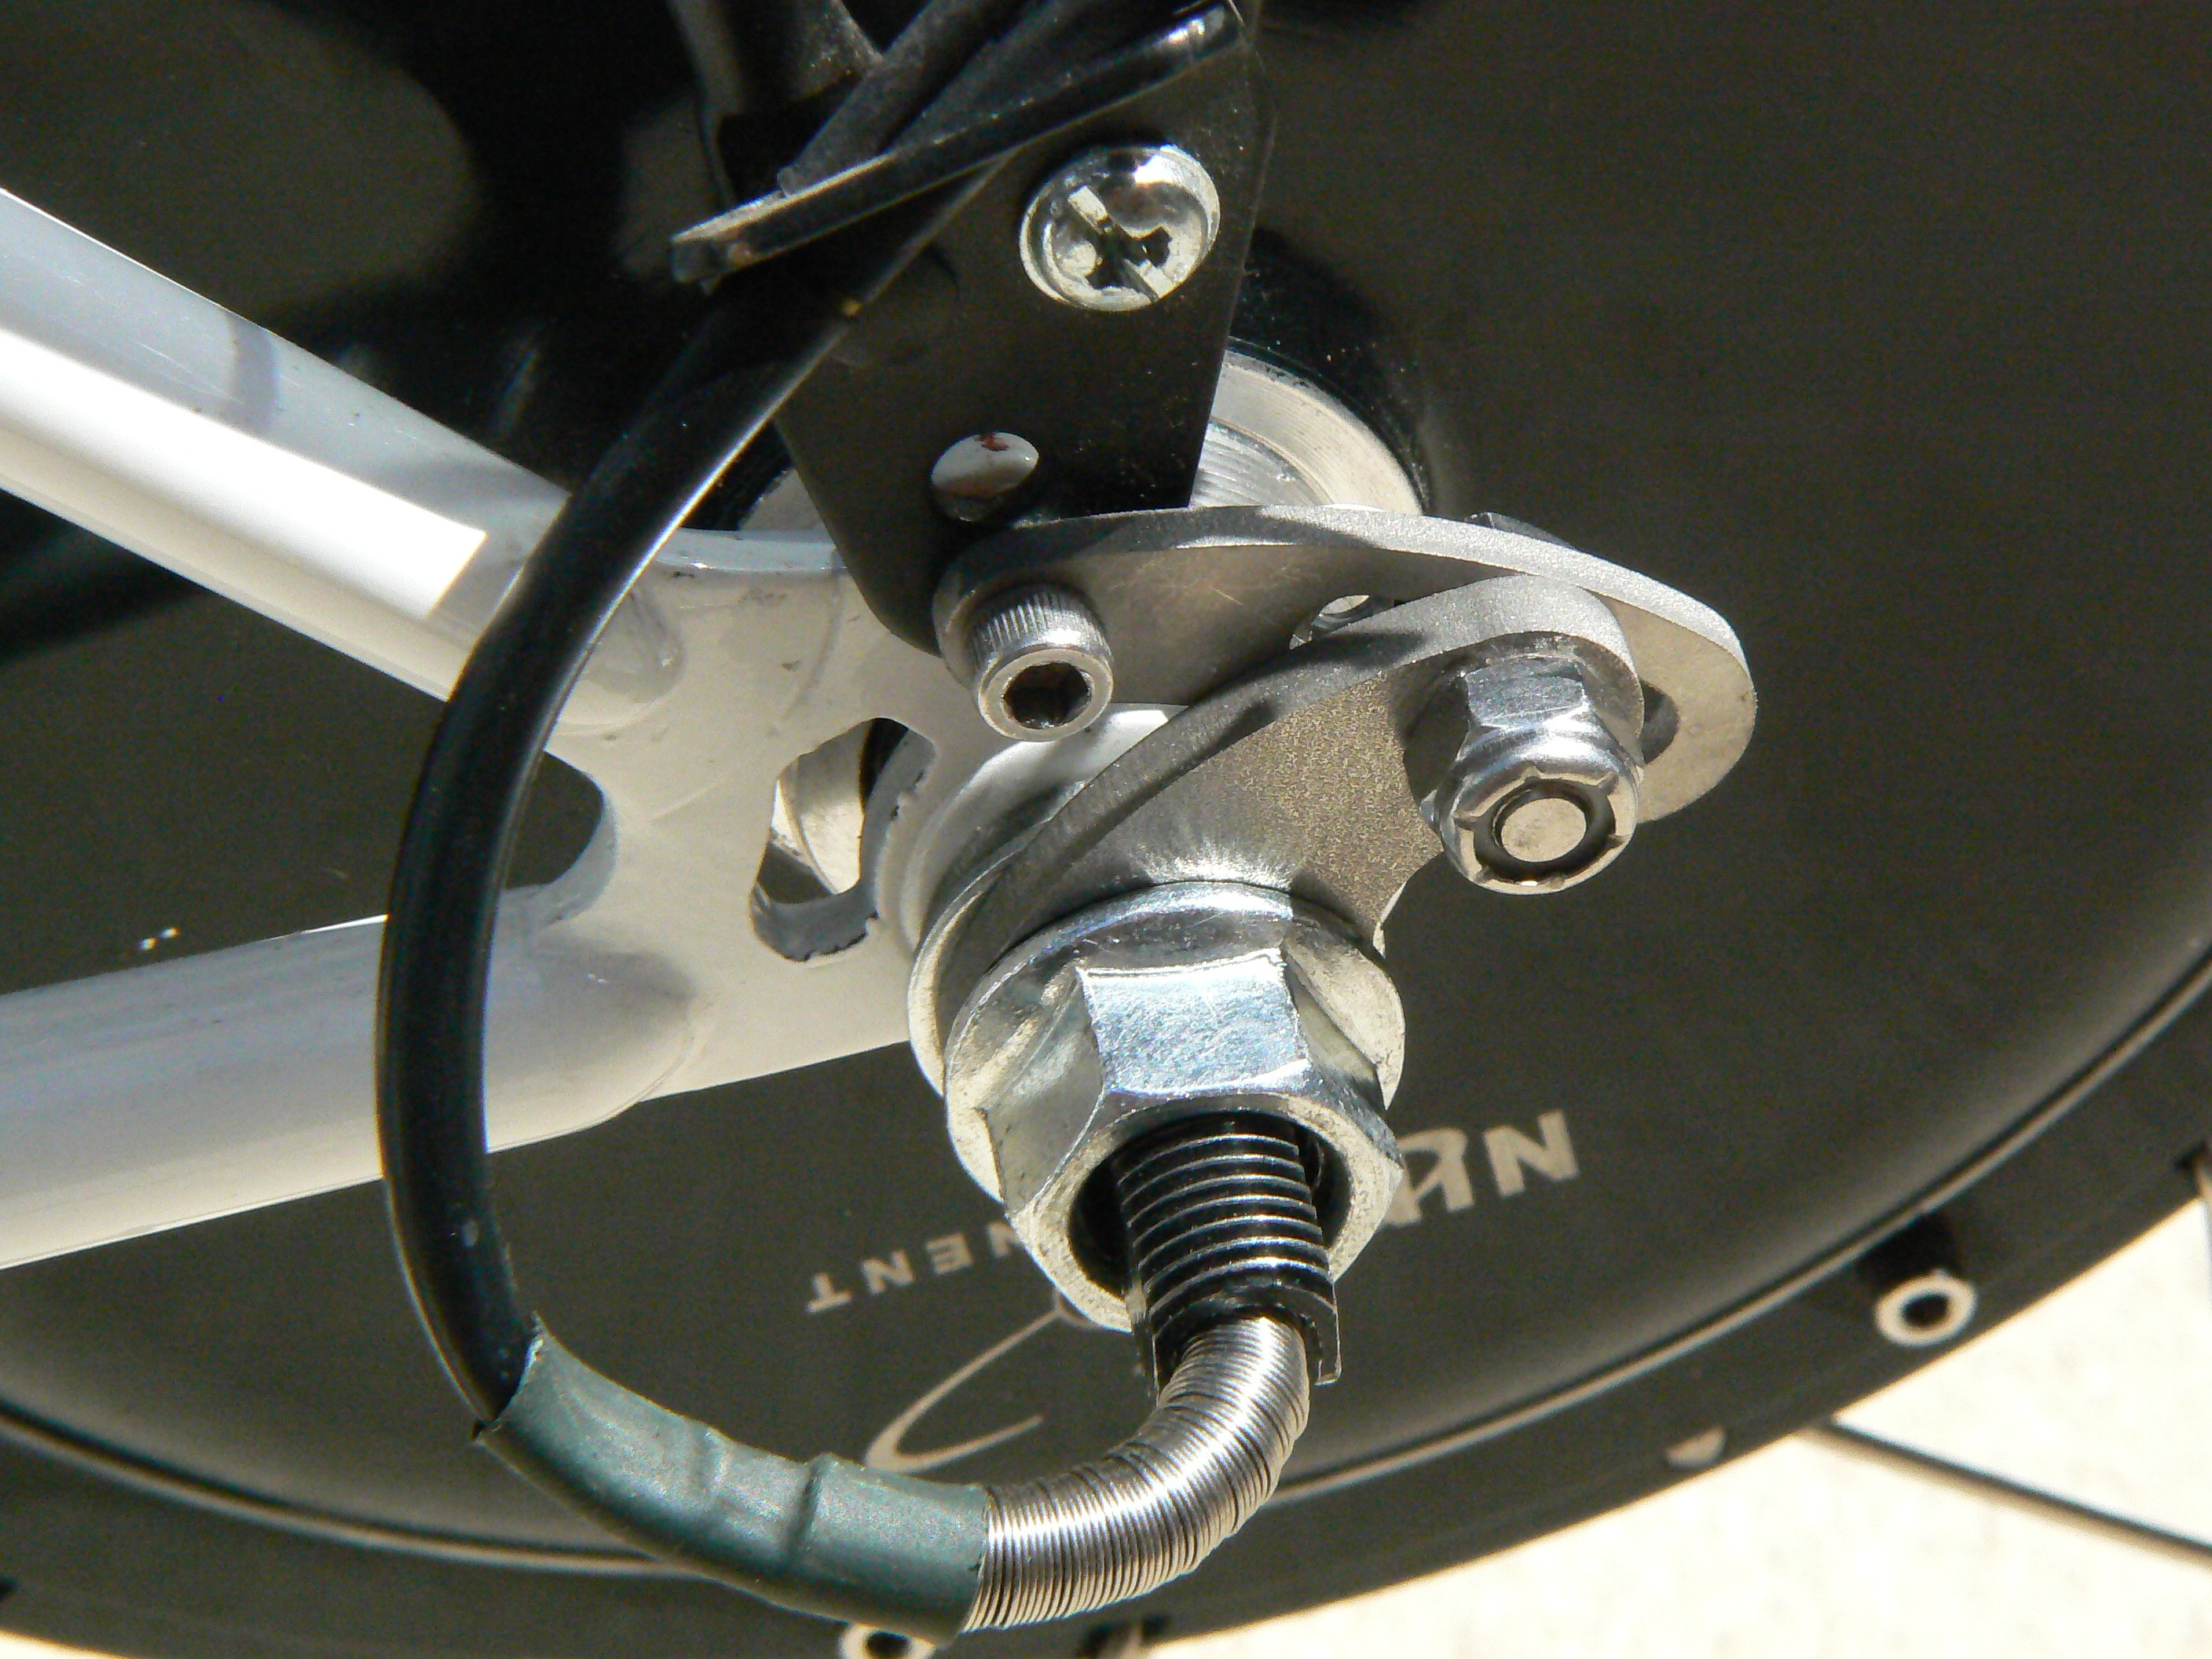
Tightening the axle to the bike is a critical part of installing a hub motor into a bike. That's because all the torque of the motor pushing the bike forward also tries to spin the axle in the opposite direction. Hub motors all come with two flat sides on the axle. For bicycle hub motors, the flats fit into a dropout whose width is 10 mm. The theory is that the dropout will keep the axle from turning. Well, it will..... to a certain extent. But more powerful motors put a greater stress on the dropout groove, which is no tougher than a cheap 10 mm open-end wrench. That's why I ordered a torque arm with my motor. I know I could fashion a reasonably good torque arm from a Craftsman 10 mm open-end wrench that would probably augment the bicycle frame dropouts enough to prevent spinout of my axle, but I felt that the $29.00 I spent for one made out of hardened steel would be a much better investment. I was right. The fit was perfect, and having a torque arm fit snugly completely around the axle is much stronger than anything with an open end.
 I took some photos of my completed installation to show how the finished product looked. I followed Cycle 9's instructions and tightened the axle nuts to 67 ft/lbs.
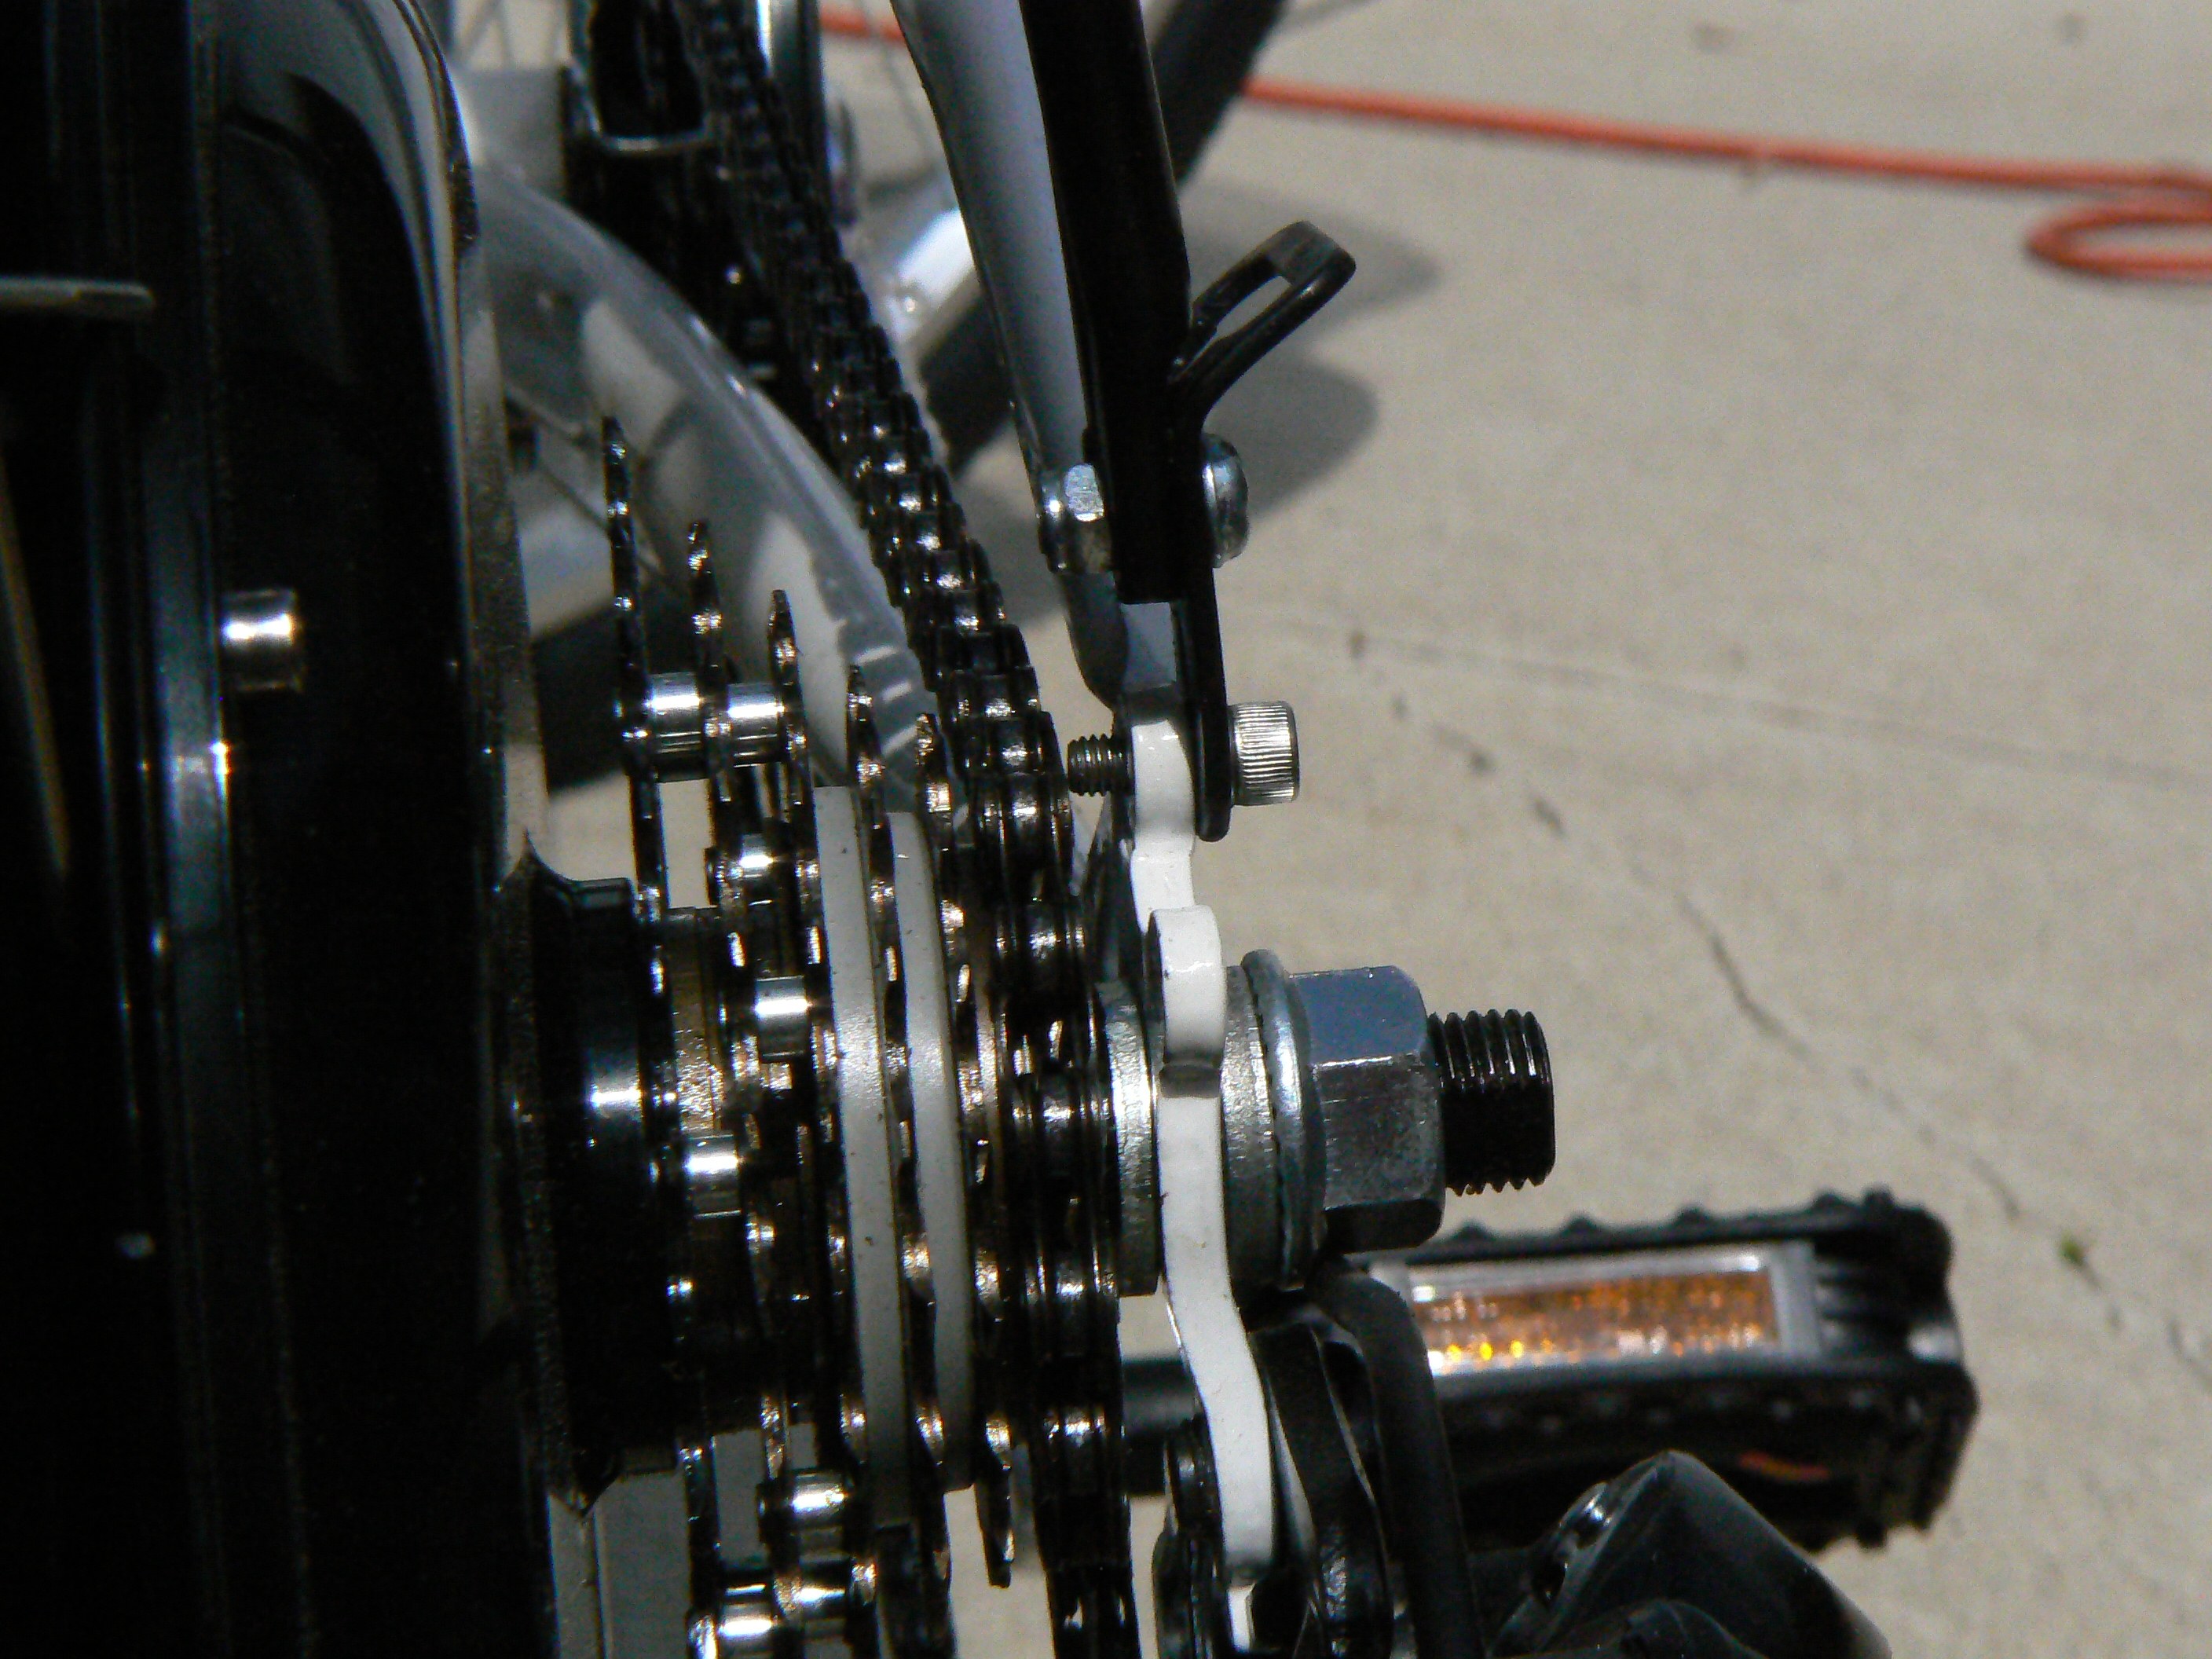
I knew I would need a rear rack to hold my batteries, and also figured that would be a good place to mount the controller. I scavenged the rack off my old bike and mounted it to the Schwinn Link. The only problems was that there was so little clearance between the smallest gear of the 6 speed freewheel that I had to be careful that the screws mounting the rack to the frame did not protrude far enough through to interfere with the chain. I didn't have a cutter to shorten my metric screws, so I just used a couple of washers under the screw head.
Electrical
Kelly Controls recommends that you mount their controllers to some sort of heat sink to avoid overheating. For my initial tests, I secured a metal plate to the left side of the luggage rack, and bolted the controller to that, making sure it was near enough to the motor wires so I didn't need extension wires.
 I substituted bullet connectors for the motor power connectors that came on the Nine Continent motor because the original contacts were too big to be pulled through the washers and torque arms. I also figured I would have to experiment with the hall sensor wires to find the combination that would yield a smoothe running motor with full power, so temporarily, I bolted a terminal strip to the plate. I also mounted and wired in the hall throttle from Cycle 9. There was sufficient wire so I could route it along the bike frame back to where the controller was mounted. I installed and calibrated a Schwinn Speedometer to accurately measure my speed. (Speedometer Calibration Discussion) I used a push-button switch to temporarily simulate a brake switch.
OK.... Ready for Controller Programming